Your cart is currently empty!
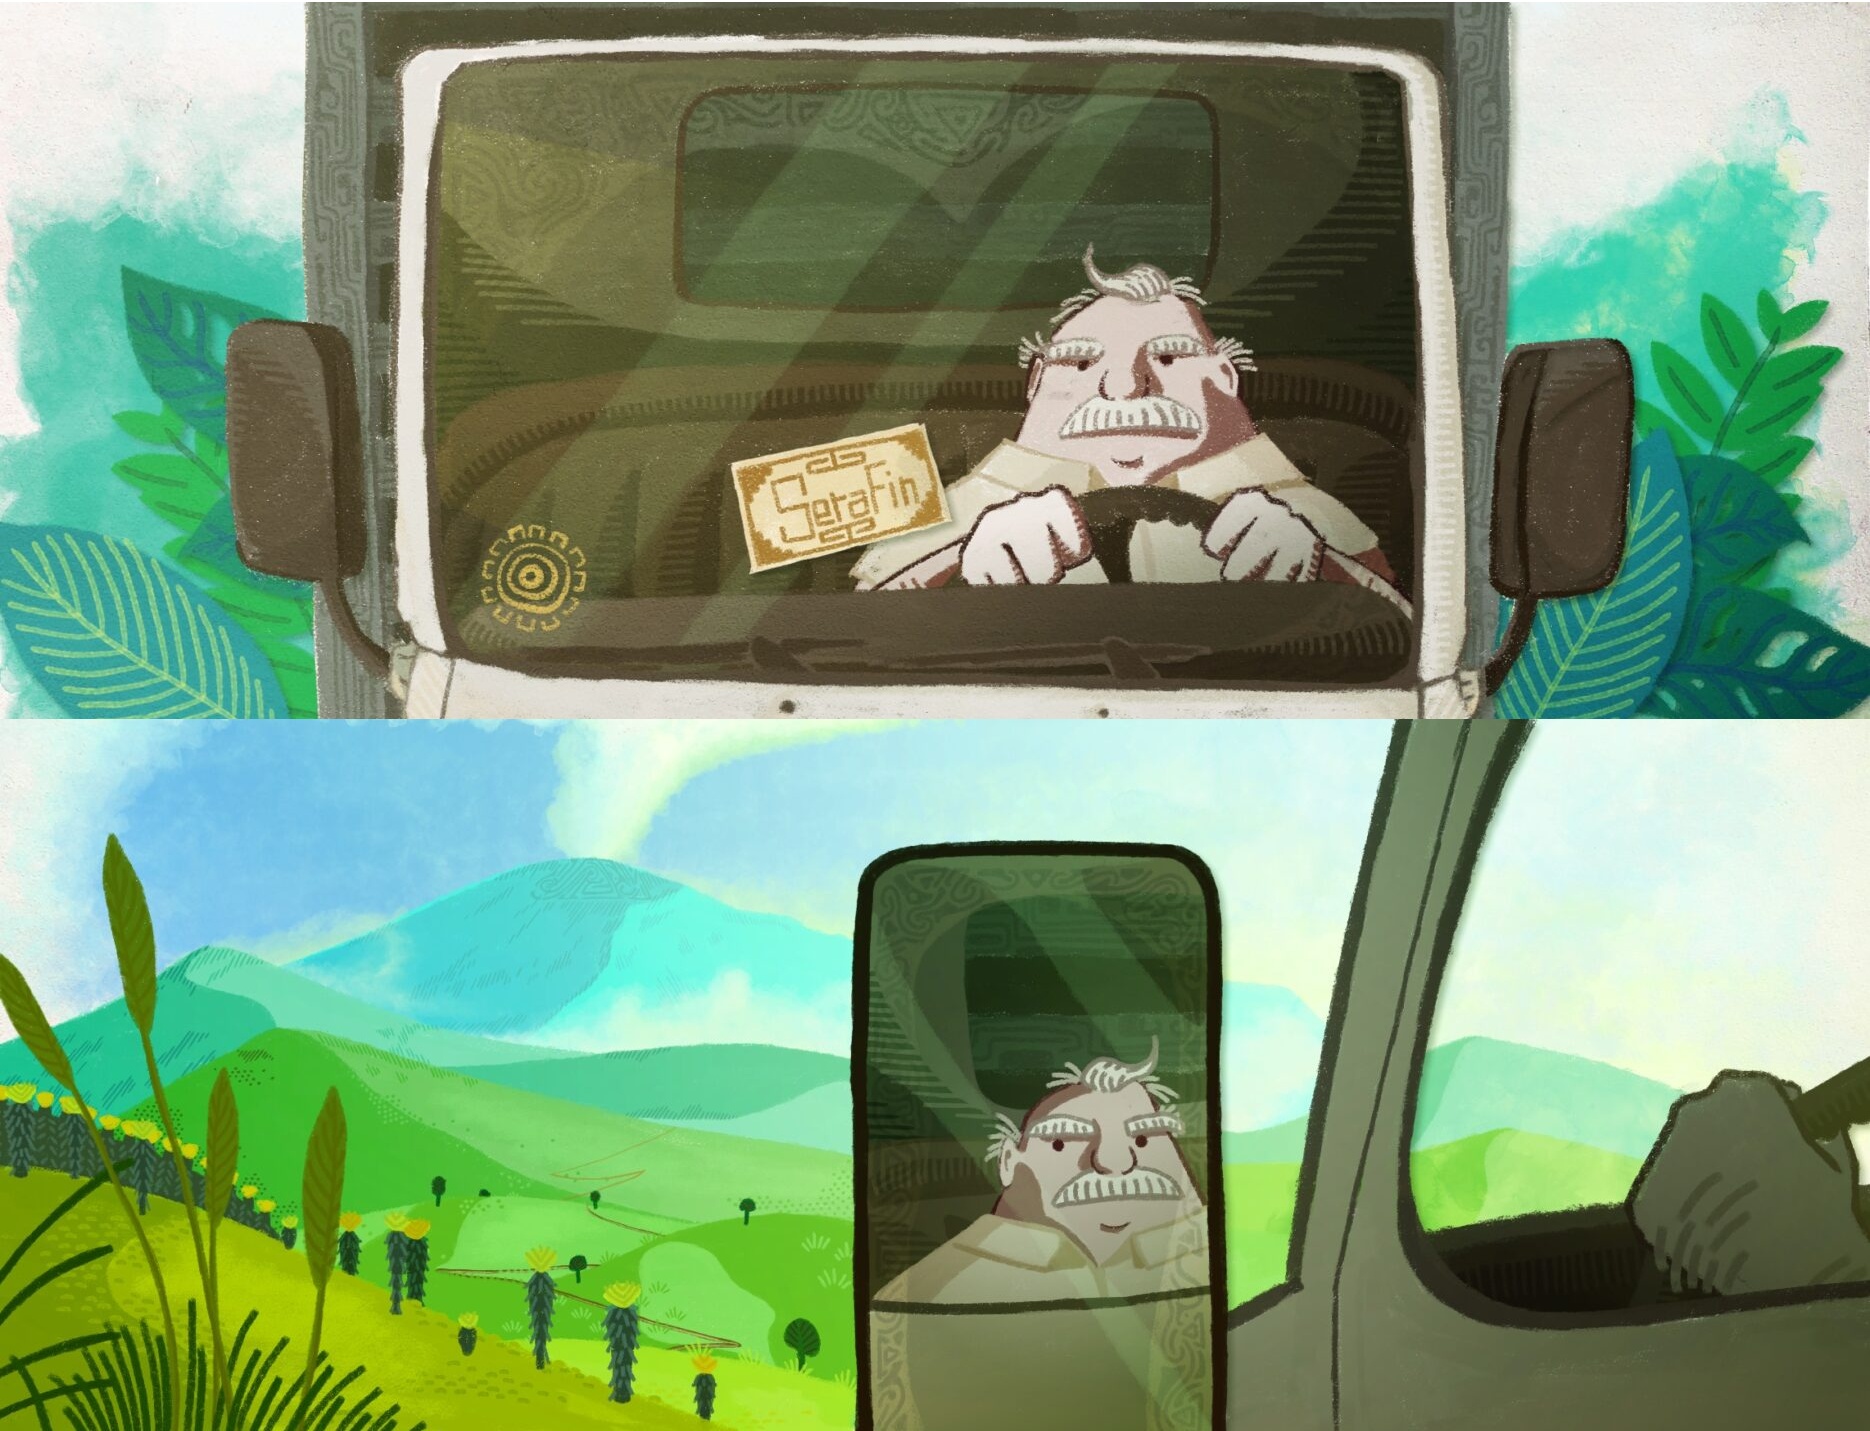
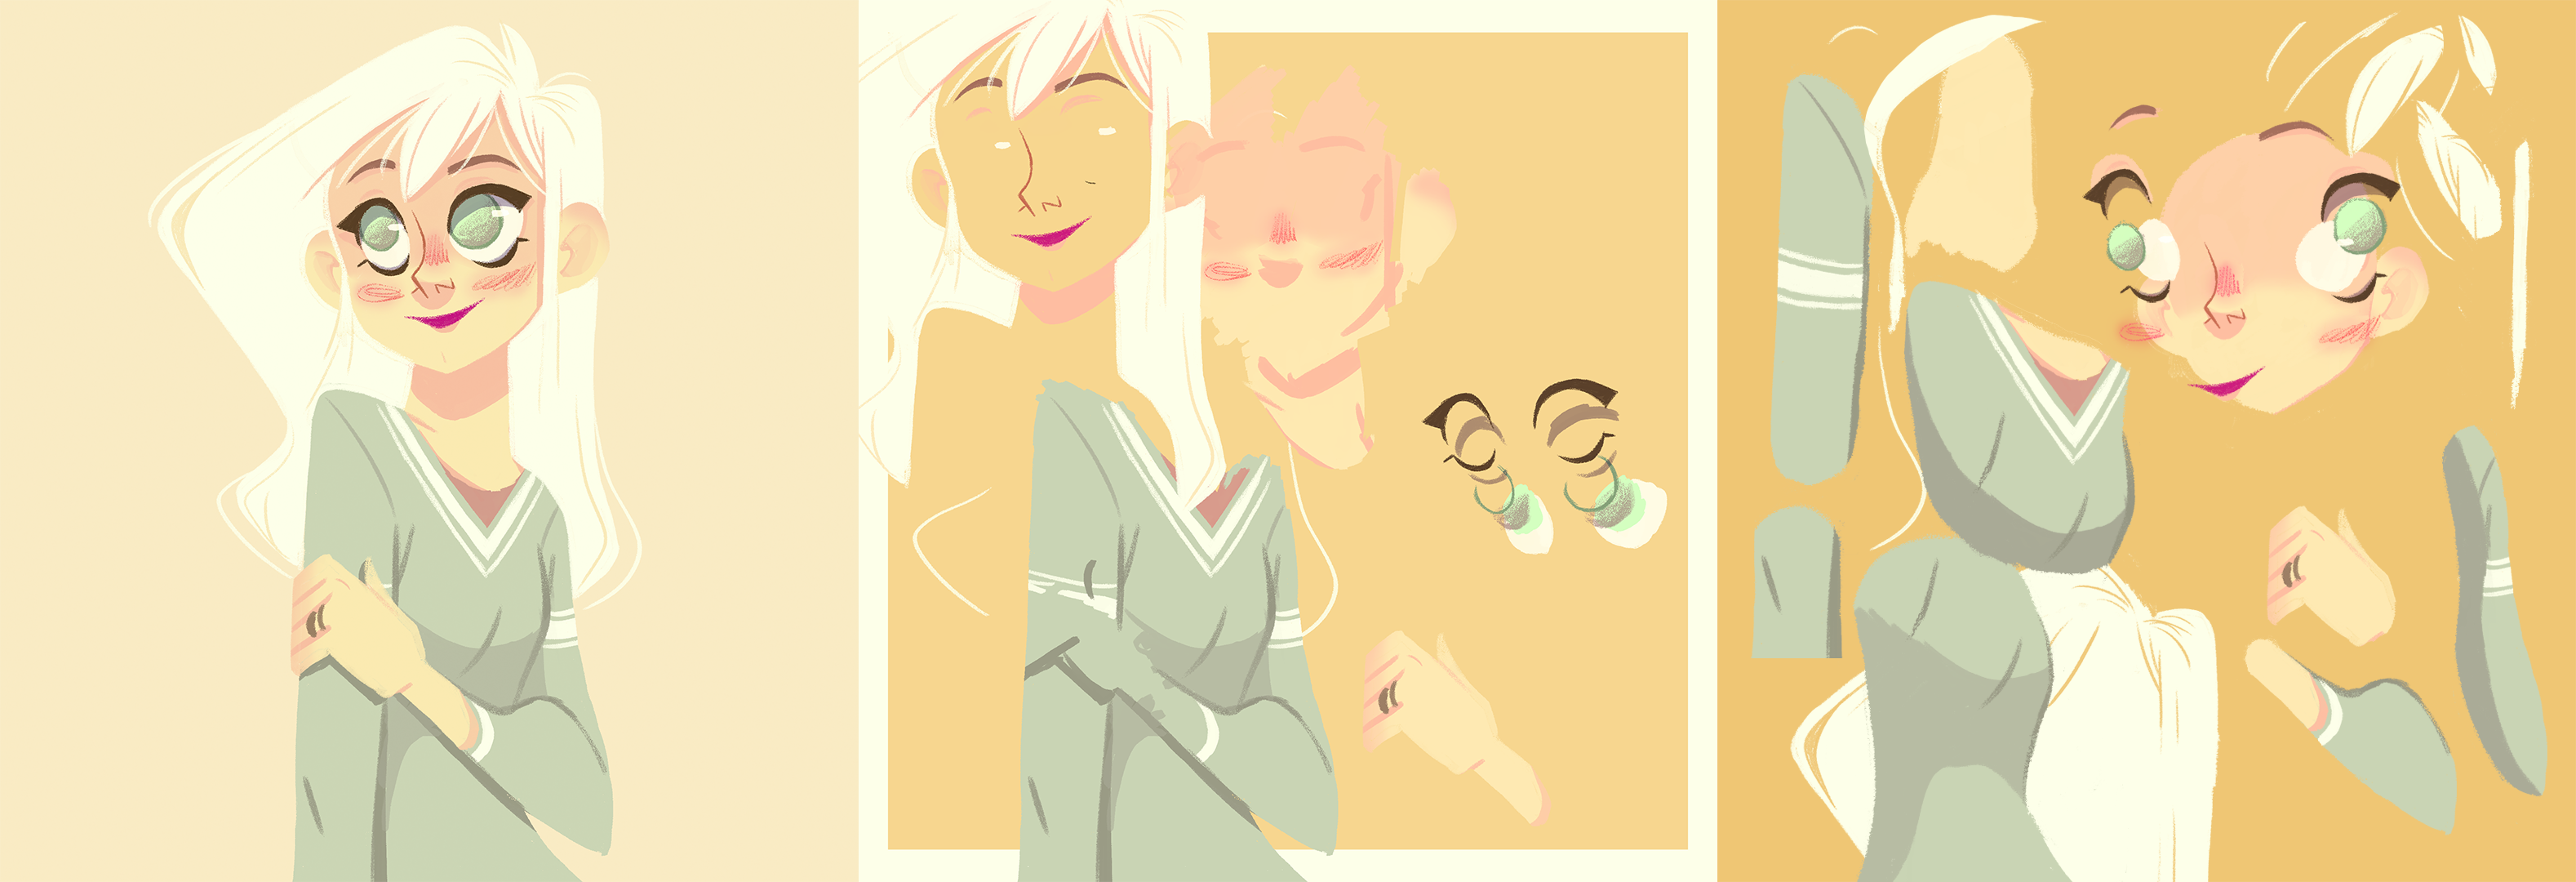
I’ve just finished a new character animation from an illustration by Justine Cunha (and there’s now a galery where you can see all those animations there).
I’ve recorded this three-hour animation work (excluding character rigging). Here’s the accelerated video – three hours compressed in 8 minutes – and a few explanations about the different steps of my animation process for an acting like this in After Effects with Duik. You can watch the finished animation at the end of the video or in the end of this post.
Setup (working duration: 7h)
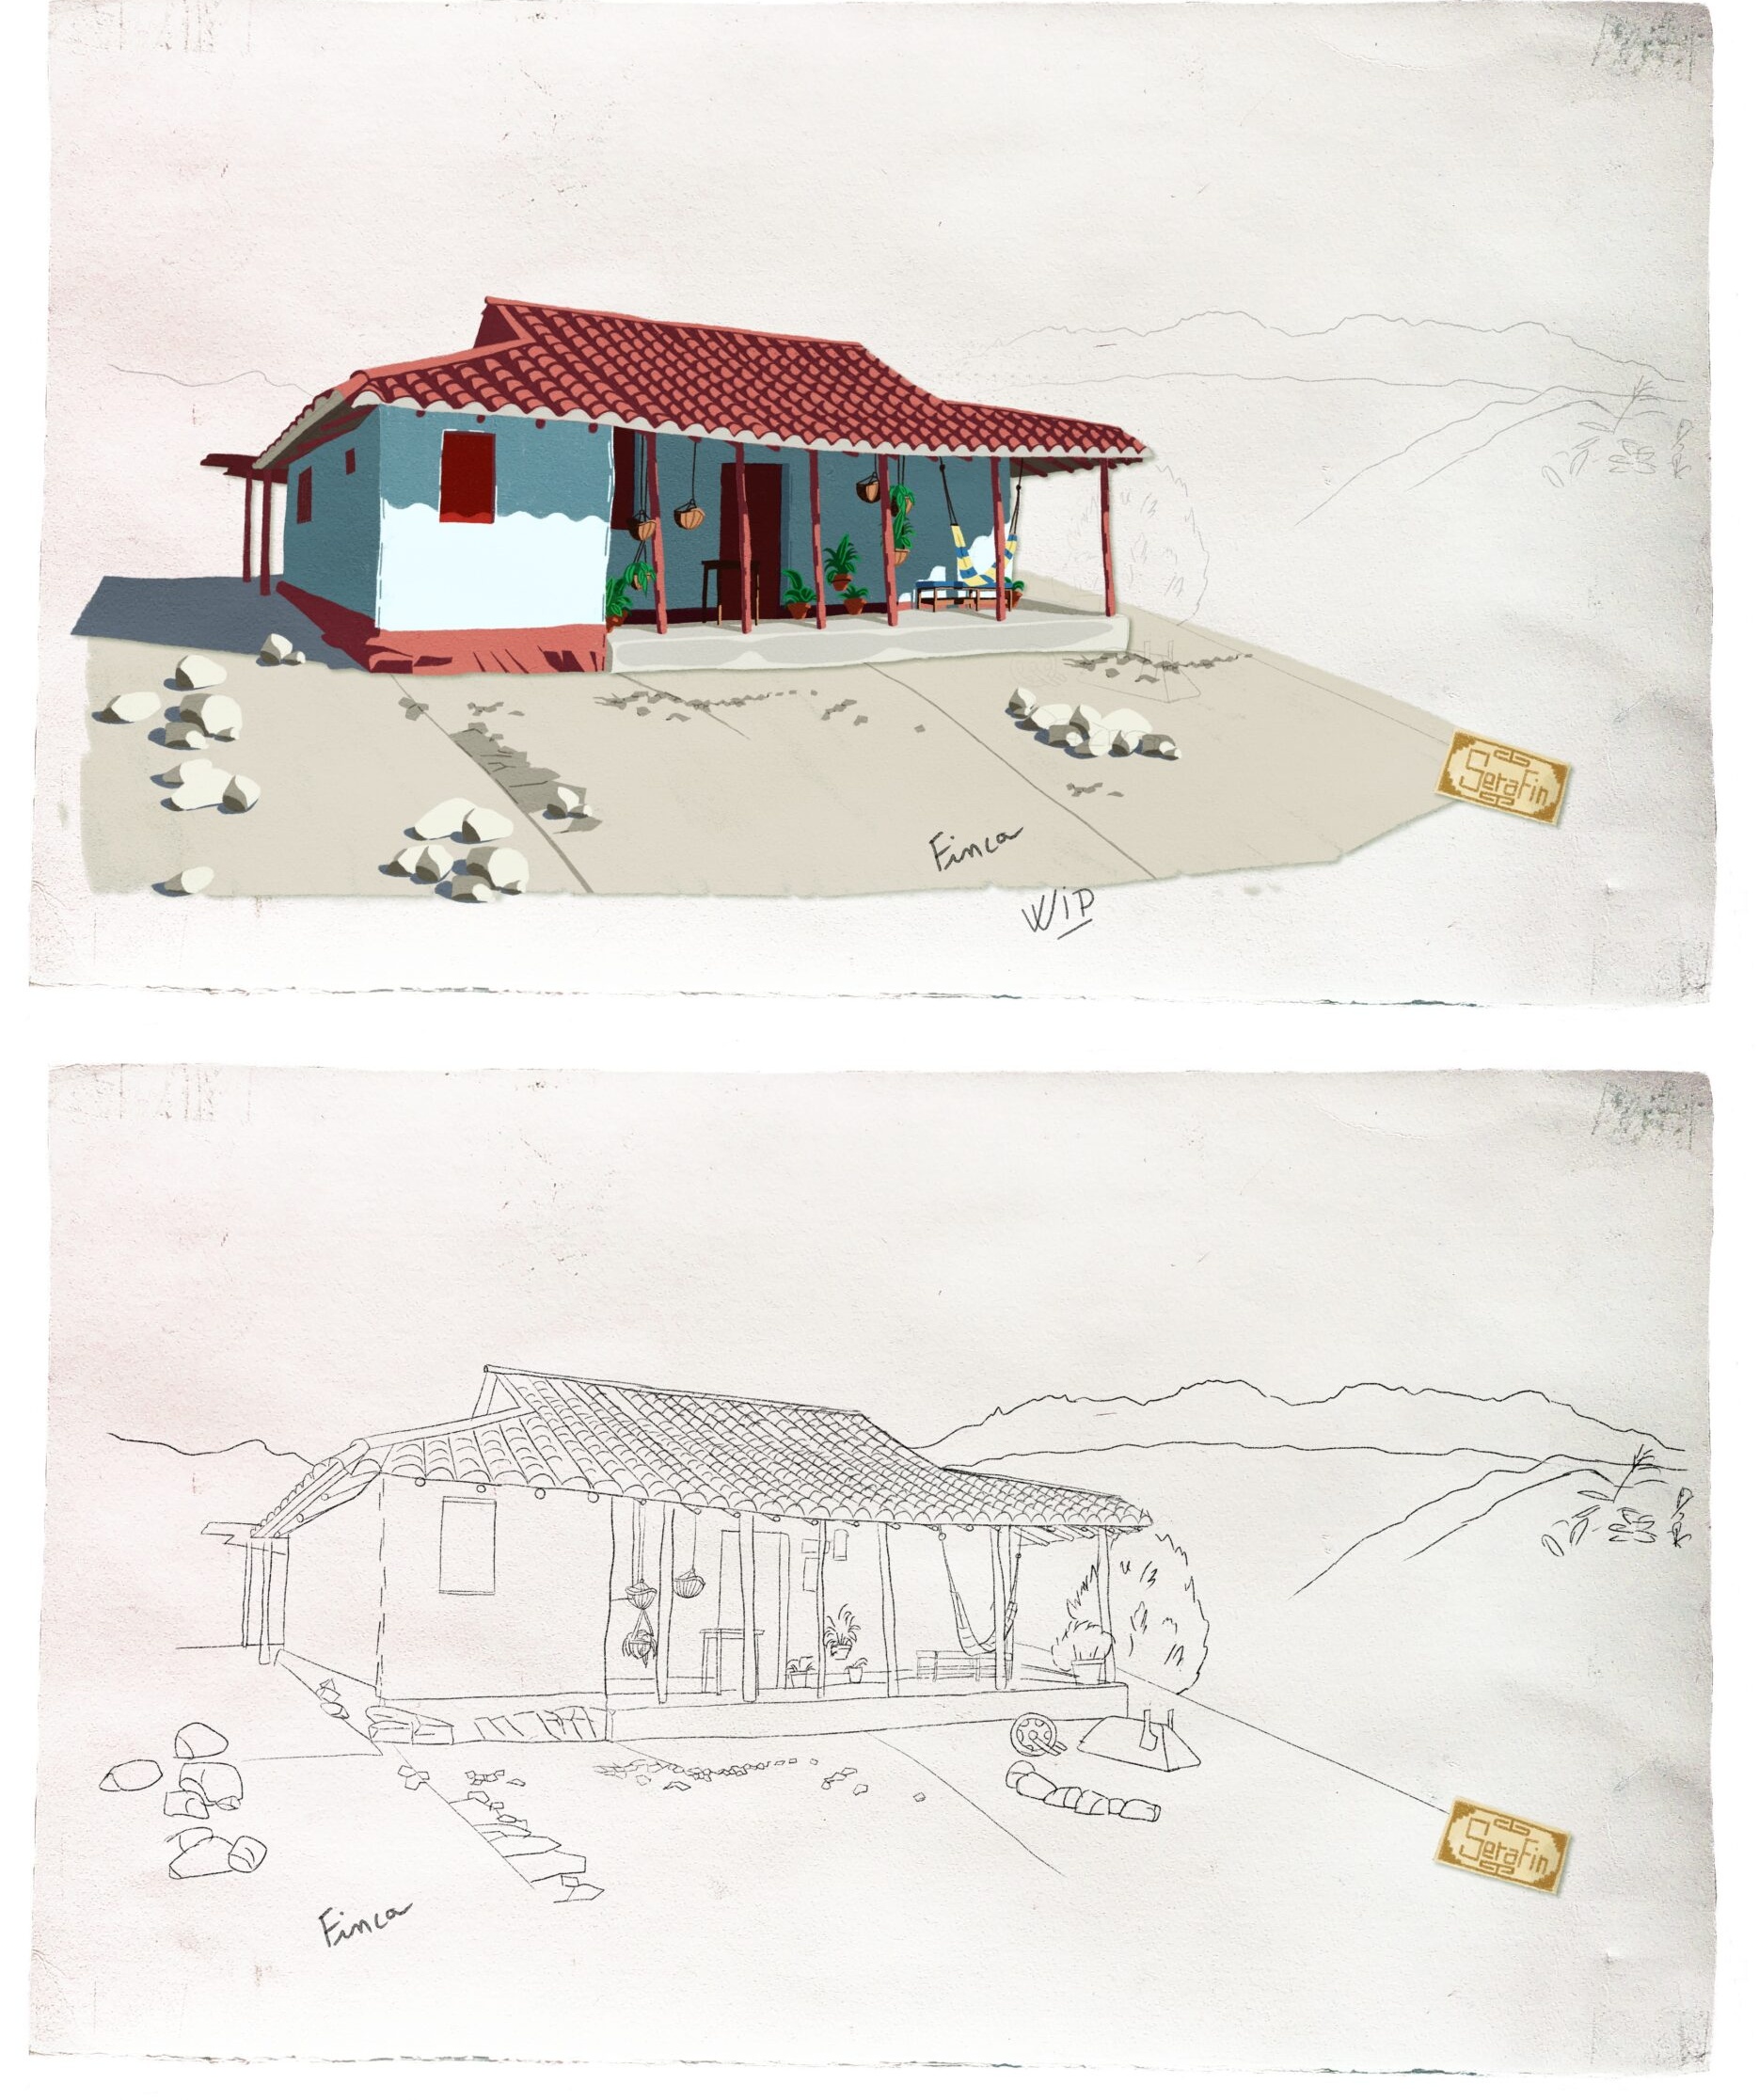
As usual, a big part of the process consists to organize the Photoshop file, which is not meant to be animated (it’s just an illustration). Separate the layers and animated elements, reduce the size, adjust some details (which can take a few hours).
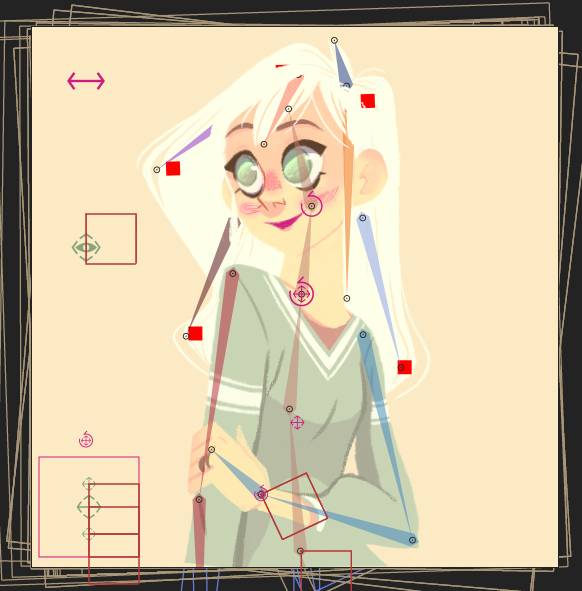
Then I can import the Photoshop file into After Effects for the rigging process of the character.
This important step is described into more details in this article.
Blocking (1h)
The first step is blocking the main poses of the animation, the keyframes and some breakdowns. In this case of a subtle acting, the pose of the character tells a lot about its state of mind, so this step will show what we want him or her to feel.
When animating an illustration like this one, this work is relatively quick, as it’s guided by the pose of the character in the original illustration, which will be the main pose. I have to make sure the start pose and the end pose are exactly the same so the animation can loop, this is another constraint.
I do take a lot of care of timing and rythm of the animation, from this step, to have the best possible timings of fixes, and have a good feeling of the speed of the movements.
You can see that I try to avoid too regular timings. There are fixes, fast movements, and details to make the fixes more alive. But at this blocking set, I don’t care about overlaps and anticipations, secondary animations, which I prefer to adjust when I’m working the interpolations with the curves.
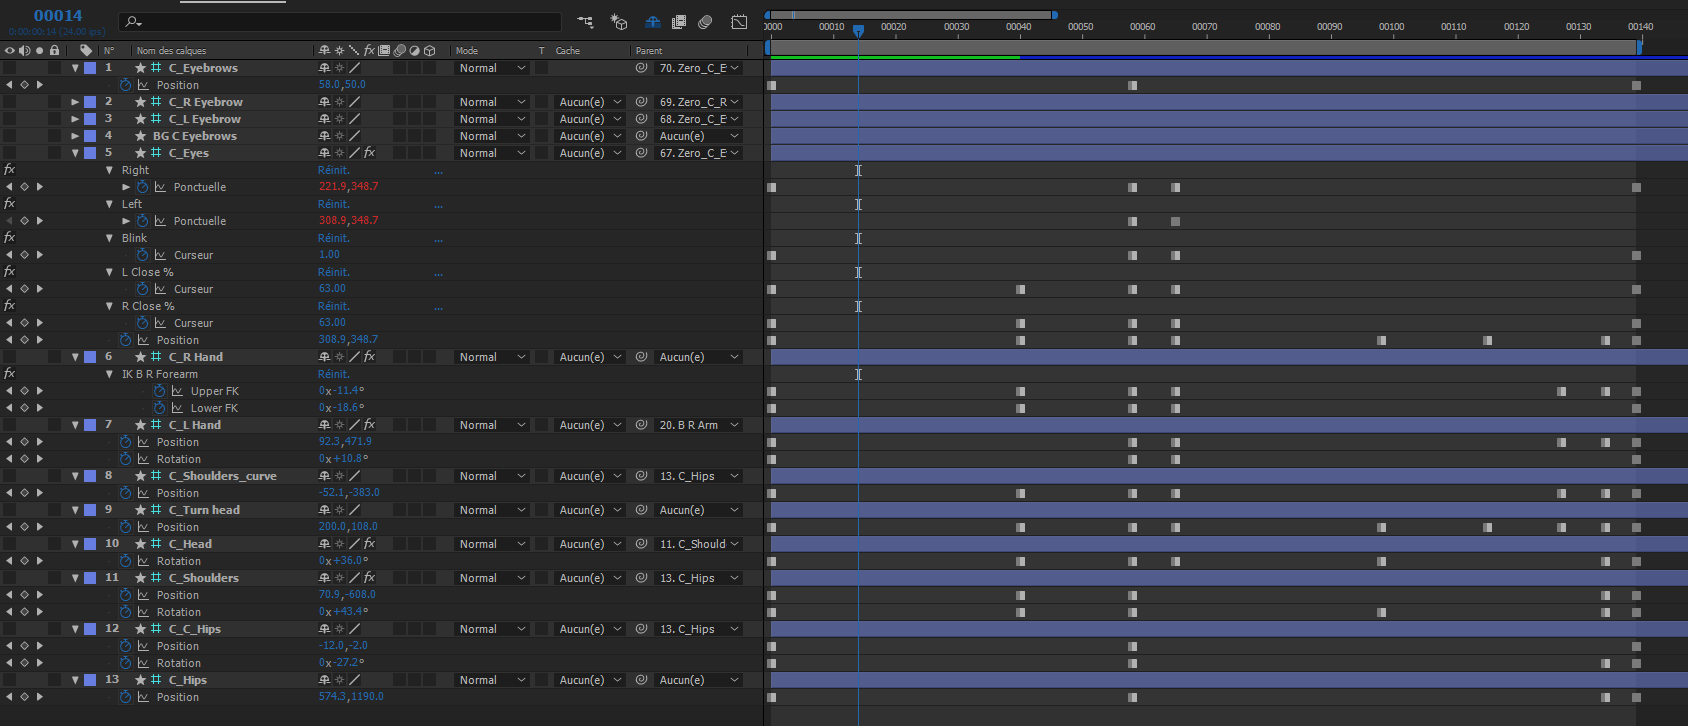
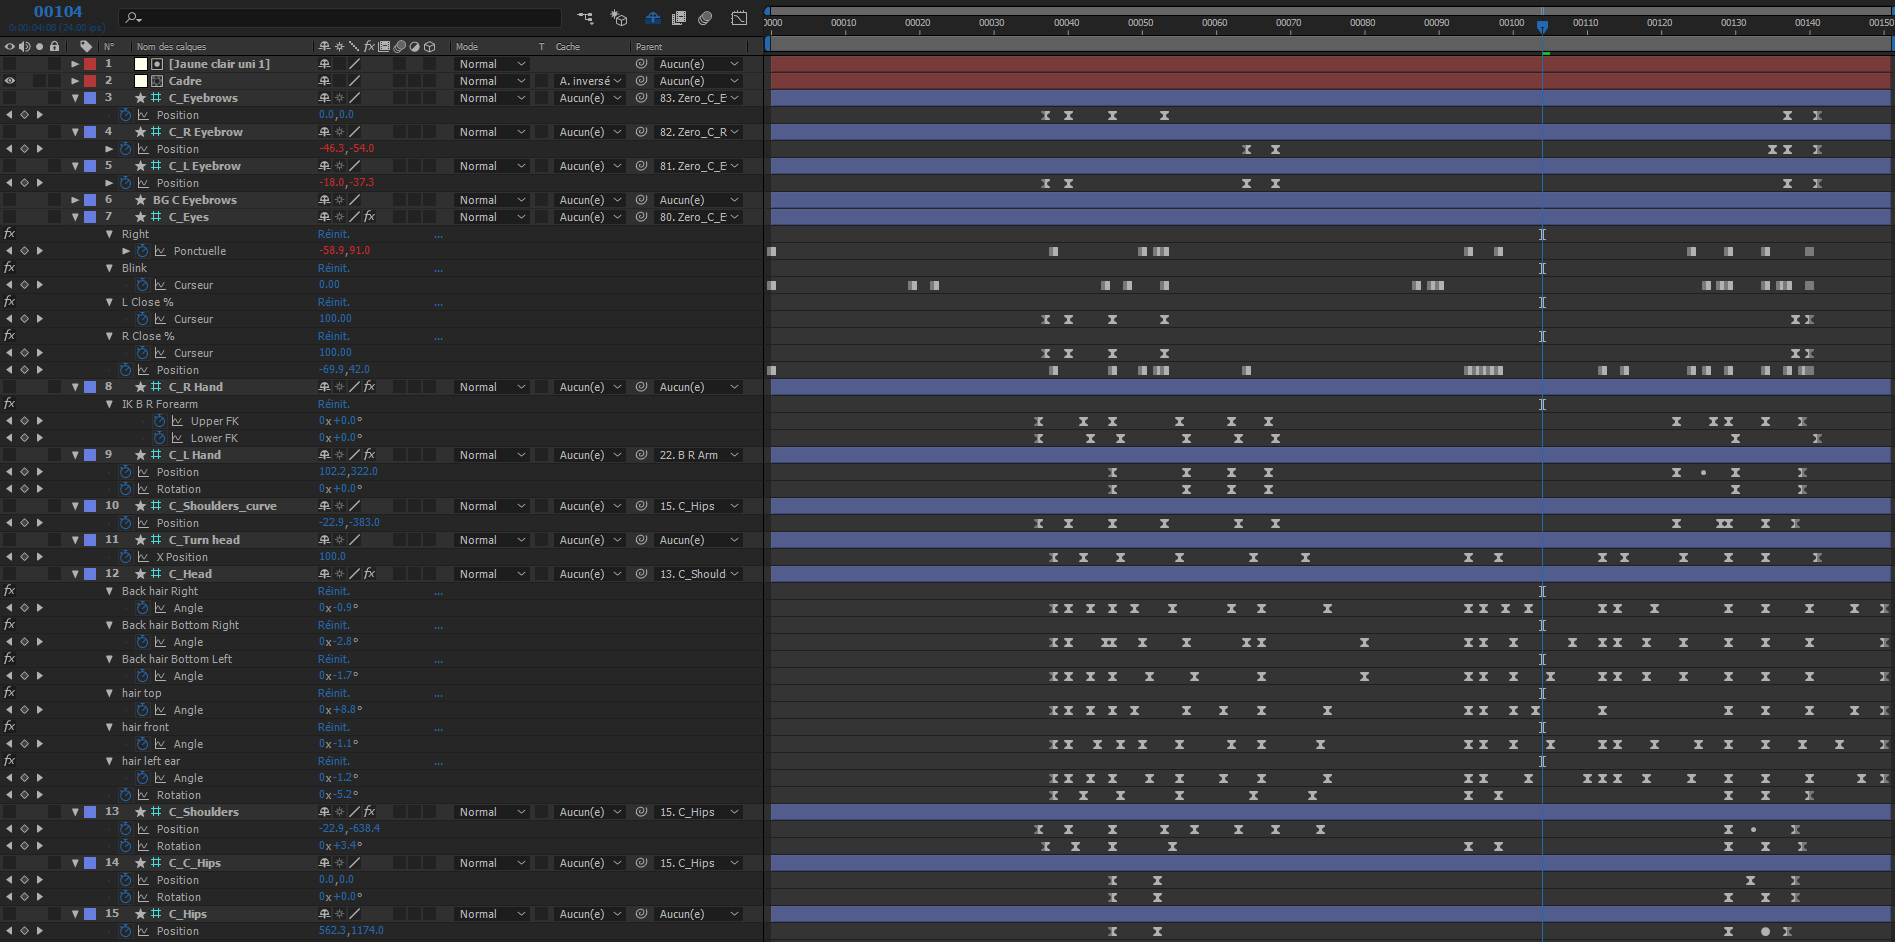
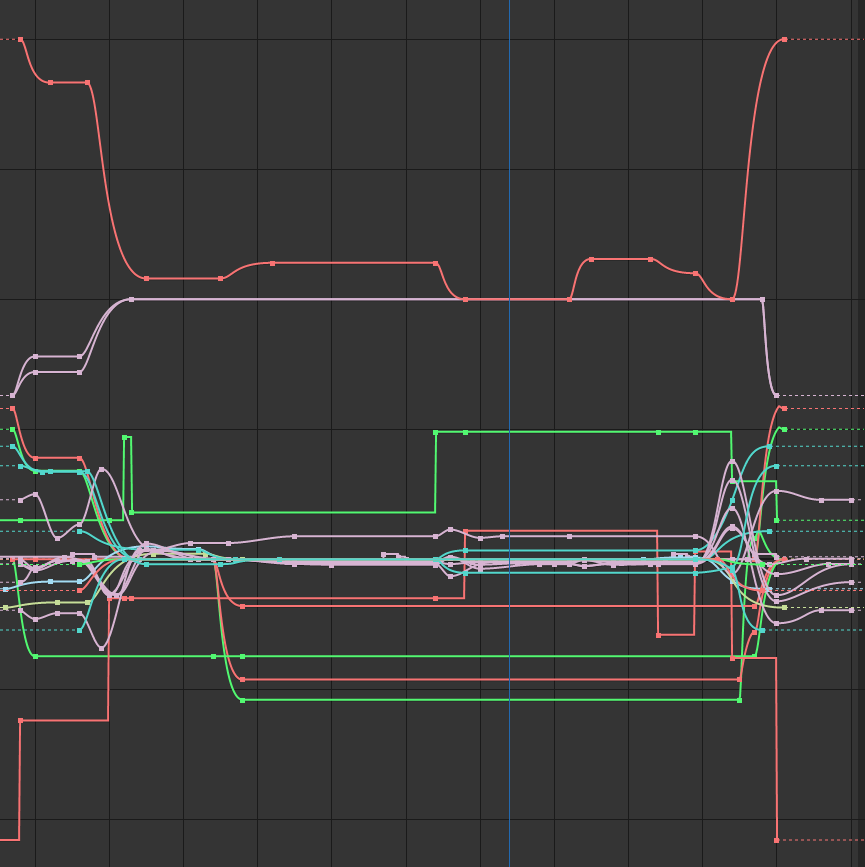
Curves (1h)
The next step is the main step of the animation. I work with the animation curves to create a smoother movement, with detailed interpolations. This is the step when I work with overlaps, anticipations, details and secondary animations, including eye blinks.
Hair (30mn)
I end up with all the “mechanical” parts, like the movement of the hair, which do not need particular thinking, but only depend on the motin of the character. I animate those only in the end when I’m certain that I won’t change the acting anymore.
You can see that I do not use interpolations on the eyes at all. I think animating the eyes in a more traditionnal way allows to add more life to them, with a more natural motion.
Shadows (30mn)
At last, with this particular animation, I had some work to do to add some shadows I previously removed from the original illustration to make the rigging simpler.
- Here’s a galery of these animations. This is the address moving-illustrations.tumblr.com.
- You can watch Justine Cunha’s work here or on instagram.
- I give the source files (After Effects and Photoshop) of this animation away to my supporters on Patreon, including the animation and the rig: patreon.com/duduf